Halloween Classics with Air Dry Clay
Make a Cute Ghost with Air Dry Clay
Did you know that ghosts from different cultures aren't able to walk through walls? Who knew! This October, as part of Clay House Art's Halloween Classics Series, our team will feature six classic Halloween monsters and show you step by step instructions on how to create your own spooky masterpiece using air dry clay.
Our fifth installment in the Halloween Festivities we will be featuring:
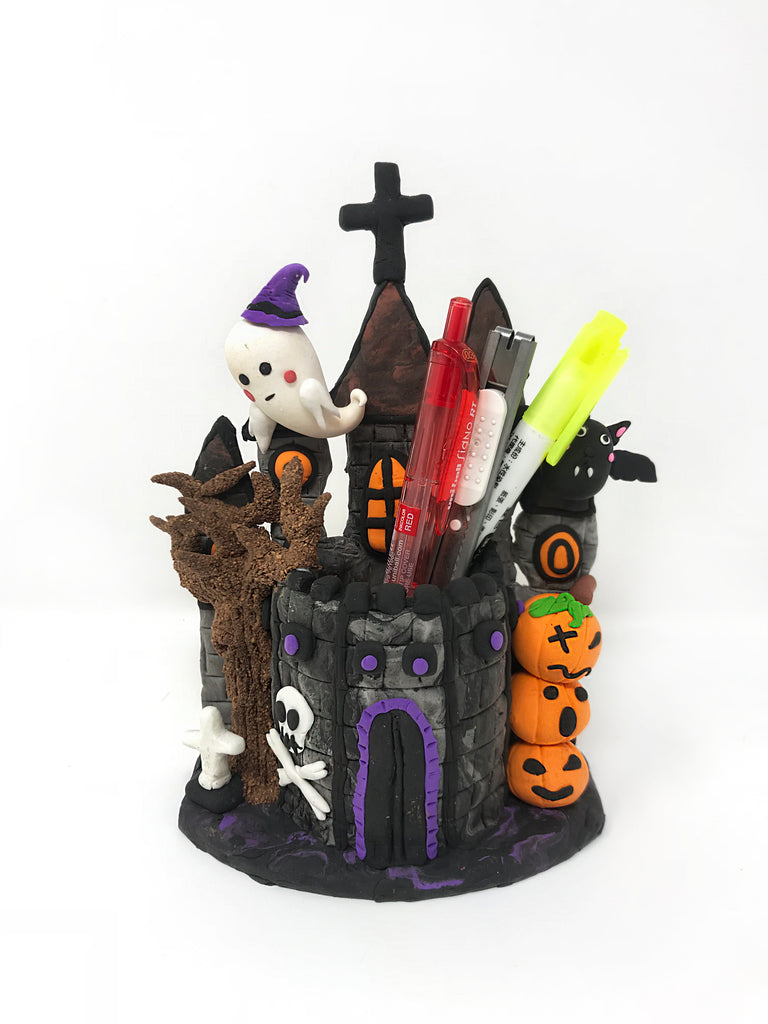
Cute Ghost

Here's what you're going to need
Materials
2 in 1 Light Clay (Black, White, Purple, Red)
Wood Armature
Clay Tools
Scissors
Procedure:
~Pro-tip - make all of the detail elements before placing on the background, once the clay sticks to the background changing out an element is more difficult
1. Take the black clay and cover the armature until you cannot see the wood
2. Roll white 2 in 1 Air Dry Light Clay into a large teardrop shape making sure that the tail is thinner than the head
3. Make two teardrop shapes for the ghost's arms and cut twice to make hands.
4. Using your black clay, make two small circles for the eyes
5. Make two small circles with your red clay for cheeks
6. Make two teardrop shapes with your red clay for the fire around the ghost. Make two cuts and use claytools to shape
7. Roll your purple clay into a teardrop shape. Mold a base for the hat, twisting the tail
8. Roll a thin long strip of black clay to add detail to the hat
9. Assemble and place your elements in order of the picture shown above onto the background
10. Add any decorations to your background
11. Optional: Glue a magnet or keychain to make a perfect Halloween Gift
Make sure to check out how to make our other Halloween Classic Monsters

← Older Post
Newer Post →